This warm season provided some time for work on our refit, and also gave us some great sailing weather for our new family picnic vessel, a 16′ Wayfarer.
It was discovered in the early spring that a bronze bushing had been used in the rudder tube. This started a galvanic reaction eating at the rudder tube and rudder stock. Ultrasound picked up the thinning, the rudder was impossible to swing. Complete removal and replacement was necessary, and was completed with modern materials. The job was well within our means but a huge job to add to an already long list
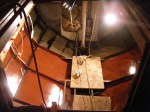
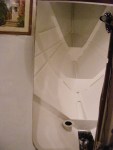
I managed to complete the installation of a fuel fill, water fill setup inside the cockpit which will make for easy jerry-canning underway. The fills rest under what will be the new cockpit seat tops of wood slats on a stainless frame. A complete weld-out of the cockpit was under taken including installation of all fabricated hatches, cockpit sole replating harness tie-off points and installation of mainsheet horses, bilge pump outlet plate and last but certainly not least the rudder tube/rudder heel and new welded self steering mounts.


-
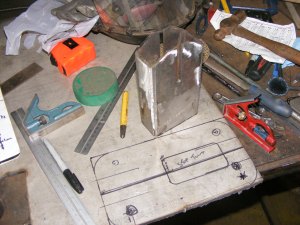
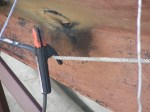
- Beginnings of tig root pass
-

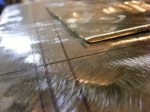
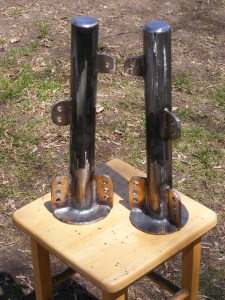
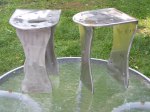
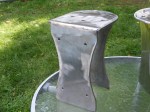
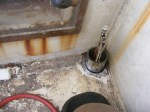
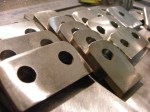
- Shown is uhmw polyethylene bearing
-

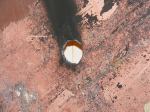
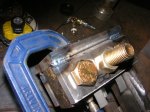
- Pc on left is a 3″ pc of 2 1/2″ sch80 welded to a”L” cut from 1 1/2 plate
-
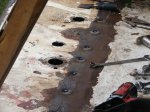
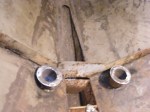
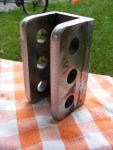
- 4 x 1 1/2″ bilge outlets, 2 electric, and 2 manual
-

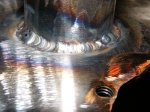
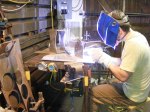
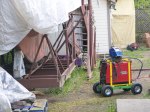
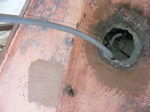
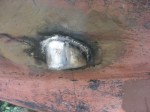
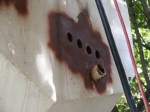
- The screen protects the neighbors from welding arc, grinding sparks etc. The funny shaped D near the grey donut is a cleared patch for ultrasound
-

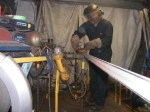
- The main cup was welded to the keel using 3 passes of vertical up and a vertical down cover pass. The 1/4″ horizontal re enforcement plate was bonded with 2 passes
-
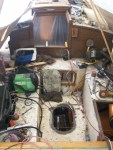
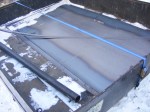
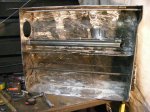
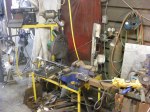
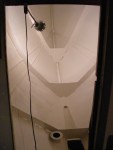
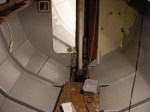
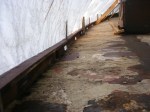
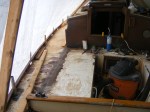
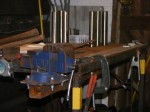
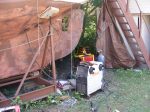
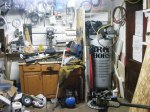
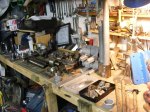
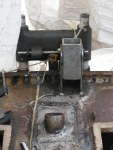
- as the cockpit looked in spring.. must get up to date photo

-
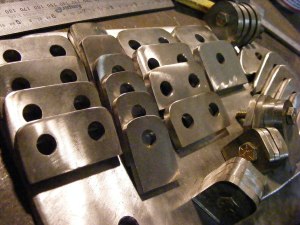
- Self Steering welded tabs, This replaced 8 bolts
-

- Fuel and Water fills, each half to be painted Blue/Yellow
-
- Mainsheet Horse
-
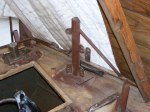
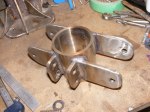
- Newrudder tube, mounted aries vane, and radar mast tavernackle
-

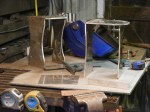
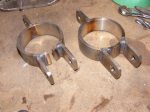
- radar mast collars, support tubes. 316ss
-
- radar mast collar, pv struts, 316ss
-
- Radar mount, 1/4″ aluminum, mounts to radar mast
-
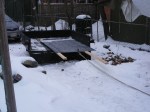
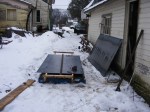
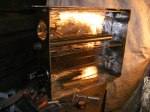
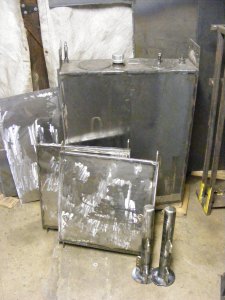
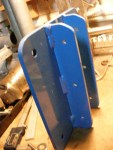
- Hatches stored after fit.
The rudder tube alignment was critical given that the heel must align with the entire rudder tube, piercing both the hull beneath the waterline and the deck just inward of the transom. The total length of aligned bearings was over 10 feet. The tube it’s self is 2 1/2″ sch 40 pipe, passed through hull and deck with doubler plates and multiple struts to deck and hull. It took an amazing amount of fussing around to have dead straight but it’s good now. The heel and the upper rudder tube have UHMW polyethylene bearings which i have already turned with a complete spare set as well